Setting up Azure IoT Hub
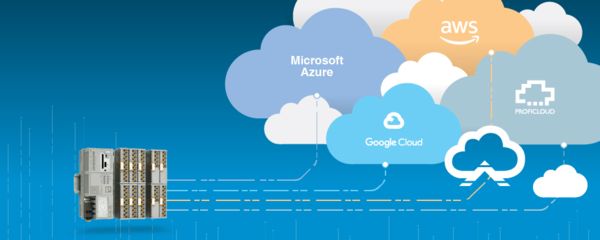
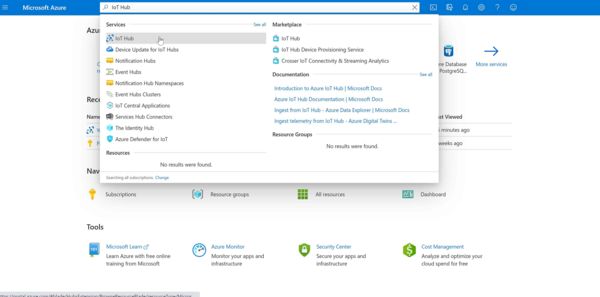
The Azure IoT driver connects to an Azure Hub as an Azure Device. These two items must be configured before the PLCnext Edge Gateway can send data from your device to the Azure Cloud. The IoT Hub service can be found by clicking the search box "Search resources, services, and docs" from your account page. Type in "IoT Hub" into the search bar and select the IoT Hub service.
Creating a Hub
From your account Portal, navigate to the IoT Hub service. If you already have a Hub created, you can continue to creating a device.

Once on the IoT Hub page, you create a Hub by clicking on the "Add" button at the top left.

Follow the dialogs provided to create the new IoT Hub based on your application preferences
Creating a Device
After you have set up an IoT Hub instance, you must create an "IoT device" that will be associated with your PLCnext Edge Gateway. This device uniquely identifies a single PLCnext Edge Gateway and stores a reference to all metrics published using the Azure driver.
To create a device, click on the IoT Hub that you'd like to reference the device to. From this page, scroll down or search for the "IoT devices" menu which is under the "Explorers" header.

To create the device, click the "New" button at the top of the window.

From the "Create a device" page, add a "Device ID". While this device ID does not need to be the same as the connection name on the PLCnext Edge Gateway, we recommend keeping these names in sync.

The Azure IoT driver only accepts "Symmetric Key" authentication. For simplicity, leave the "Auto-generate keys" enabled, and keep the "Connect this device to an IoT hub" enabled. Once saved, this device is ready to accept connections from the PLCnext Edge Gateway once the connection is configured on the device.
Creating a Connection
Using the "Add" button under Cloud Connections on the dashboard, select the Azure IoT driver from the drop down list.

Creating an Azure IoT Connection Form
There are two properties required for a connection:
The "Name" parameter is a unique name which identifies this connection.
The "Connection String" parameter is a secure access token required to authenticate into your Azure IoT account. To retrieve this string, at the time of the writing of this page, navigate to your Azure Portal.
Back to top
From the "IoT devices" window on your Azure IoT Hub, clicke the "Device ID" of the target device. From this page, copy the "Primary Connection String" to your clipboard.

Azure Connection String
Paste this connection string into the "Connection String" field of the new Azure client dialog.
If your connection string is valid, the PLCnext Edge Gateway will immediately attempt to connect to Azure and will provide its status on the dashboard.
Monitoring Status
Once a connection to Azure IoT has been created, the dashboard will display the status of the connection.

Azure Client Dashboard Status
Clicking on the Azure client tile will take you to the Azure client page where multiple Azure clients can be monitored and logs can be viewed.

Azure Client Monitoring Page
Possible values for an Azure client status string are
- Connection Error
- Disconnected
- Reconnecting...
- Connected
The logs may contain additional useful information for troubleshooting a connection
Sending Data
Once an Azure IoT connection has been created, data can be published to the cloud via the client page. On the "Metrics" header, there is a "+ Add" button at the top right. Clicking this button will open the "Publish New Metric" dialog.

Azure IoT Publishing Data
Clicking the "Source" button will reveal the Broker data structure where the data point to be published can be selected. Fill in the "Name" field to provide a custom name to be assigned to the data being published. The drop down menu provides the ability to choose between publishing "On Change" or "On Interval." When publishing a data point on change, used mostly for boolean or string types, the "Min Update Rate" field specifies the interval at which the data point will be published regardless of whether or not the value has changed. This ensures that Azure IoT will have some confirmation fo the data point value in between value changes.
After clicking "Submit", the configured data point will be displayed under the "Metrics" table.

Azure IoT data being published
The data point row displays the current value, last published time, publish rate and provides a delete button. If the data point has had an issue being published within its configured interval, that data point row will be outlined in red. The logs can be checked to search for the source of the issue.
