Inserting Mounting Rails
This topic contains the following sections:
| Further Info
Details on the mechanical processing of mounting rails can be found in the topic "Mechanical Processing of Mounting Rails". |
Types of mounting rails
clipx ENGINEER handles the following types of mounting rails. The type of mounting rail is displayed in the project tree with different icons.
| Type | Project tree icon | Description |
|---|---|---|
| Endless mounting rail | Standard mounting rail as specified in the backstage area in the Options | Project settings section under the Din rail group.The length is automatically extended when you place articles on it. | |
| Customized mounting rail | Standard mounting rail with customer-specific length.The length is fixed and will not change when you place articles on it. |
Insert a mounting rail
You have the following possibilities to insert a mounting rail.
- Via the ribbon button: HOME > INSERT | Endless mounting rail
-
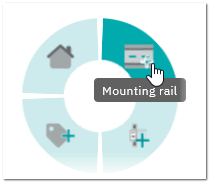
Via the radial menu (right-click an empty area to open the menu). Inserts an endless (standard) mounting rail.
Note
You can specify the default mounting rail inserted via the ribbon button in the backstage area in the Options | Project settings section from the Default dropdown list under the Din rail group. - From the Mounting rails category in the Insertion Center.
In the project tree, each mounting rail is displayed as child node of the project node and numbered subsequently in the order of creation.
Adjust mounting rail length
| Note
You can specify the default length of the standard mounting rail in the backstage area in the Options | Project settings section under the Din rail group. |
You can adjust the length of a mounting rail:
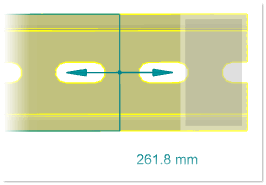
- Using the mousePlace the mouse cursor on the end of the mounting rail to display the double arrow and drag the mouse leftwards or rightwards while keeping the left mouse button pressed.
Note
Adjusting the rail length with the mouse is only possible for mounting rails with a non-fixed length (see the following item).Note
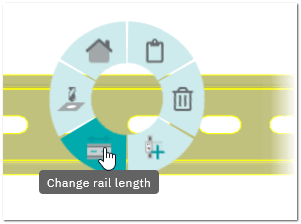
The operation does not change the type of mounting rail (rail remains an endless rail). - Manually entering the length (creating a customer-specific rail with fixed length)In the radial menu of the mounting rail, select the following command and enter the length in the appearing dialog.
Note
The operation changes the type of mounting rail from endless (standard) mounting rail to customer-specific rail with a fixed length (modifying the length with the mouse is no longer possible for this type of rail).Further Info
You can also use the mechanical processing mode to define the length of the mounting rail.
| Note
If you only want to plan/order additional equipment for an existing mounting rail without having it fixed to a rail, you can just drag & drop the articles from the Insertion Center into the Unplaced Elements window. |