Inserting Accessories
Accessory modes
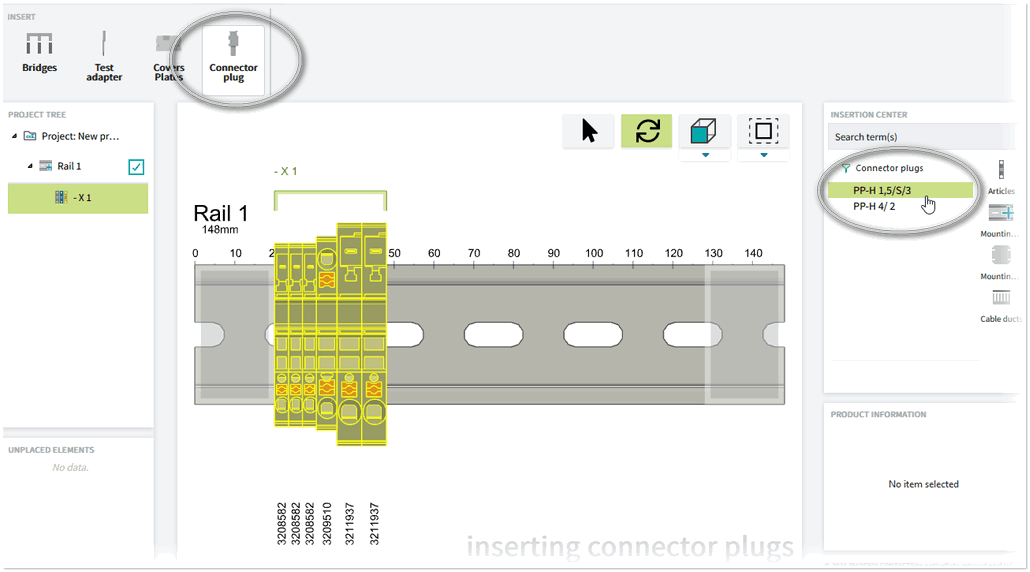
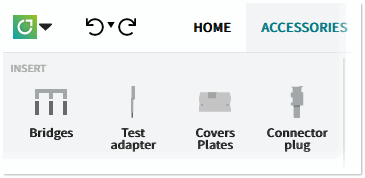
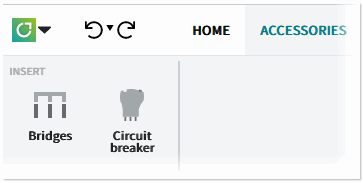
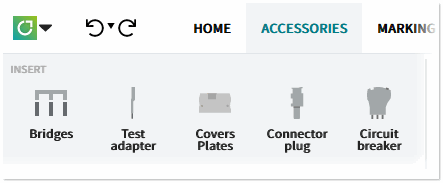
Accessories are inserted via the ACCESSORIES > INSERT ribbon or the radial menu. Depending on the article(s) selected in the workspace, the ribbon displays the icons of the accessories modes (accessories groups) that can be activated for the selection. The ribbon is empty if no accessory mode can be activated for the selection. If several articles are selected, the ribbon displays the icons for all compatible accessories groups for the selected articles (see the following examples).
 Examples
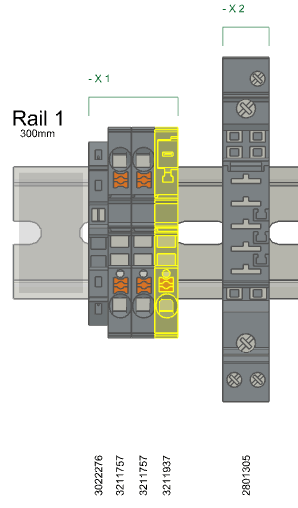
Activating an accessory mode and inserting accessories
A mode is activated by clicking the corresponding ribbon button for a selection or via the radial menu. To terminate a mode, deselect the ribbon button or press <Esc>. The currently active mode is indicated in the bottom right corner of the workspace.
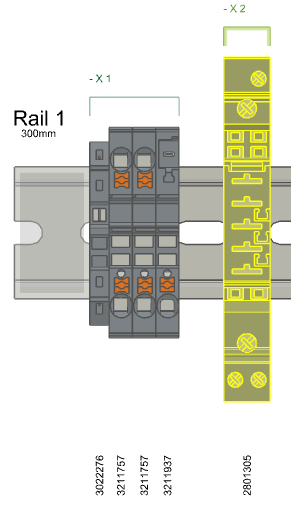
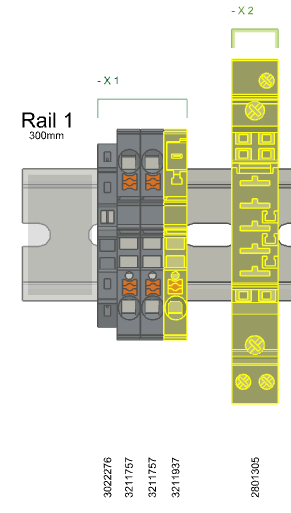
After activating a mode, the following applies, depending on the articles selected. The matching accessories are always shown in the Insertion Center. To place an accessory, select the article in the Insertion Center and then click on the insertion point or drag and drop the article on a highlighted insertion point.
| Selection includes... | Behavior |
|---|---|
| One article or several articles of same type | Insertion points highlighted (colored) on the articles. |
| Several articles of different types. All articles support the activated mode. | All matching accessories are displayed in the Insertion Center.Depending on the accessory selected in the Insertion Center, the insertion points on the articles on which the accessory can be placed are enabled (colored). |
| Several articles of different types. Not all articles support the activated mode. | Insertion points highlighted on the articles. |